- Tutorials
- Pattern design tutorial
- Part 1: Prerequisites
- Setting up the development environment
Setting up the development environment
FreeSewing provides a development environment that visualizes your design for you.
To set it up, I will open a terminal and enter the following command:
npx @freesewing/new-design
It will ask if it is ok to install the development environment in a new folder
named freesewing. You can accept the default, or pick a different folder name
if you prefer.
It will also ask what package manager you would like to use.
Here too the default (npm) is fine., unless you are certain you have yarn installed.
After answering these questions, files will be downloaded, dependencies installed, and it will also initialize a git repository for you (if you have git on your system).
This will take a few minutes because the development environment has a number of dependencies that need to be downloaded.
When it’s ready, you can enter the freesewing directory that was just created and run npm run dev:
cd freesewing
npm run dev
Or if you want to use yarn as package manager:
cd freesewing
yarn dev
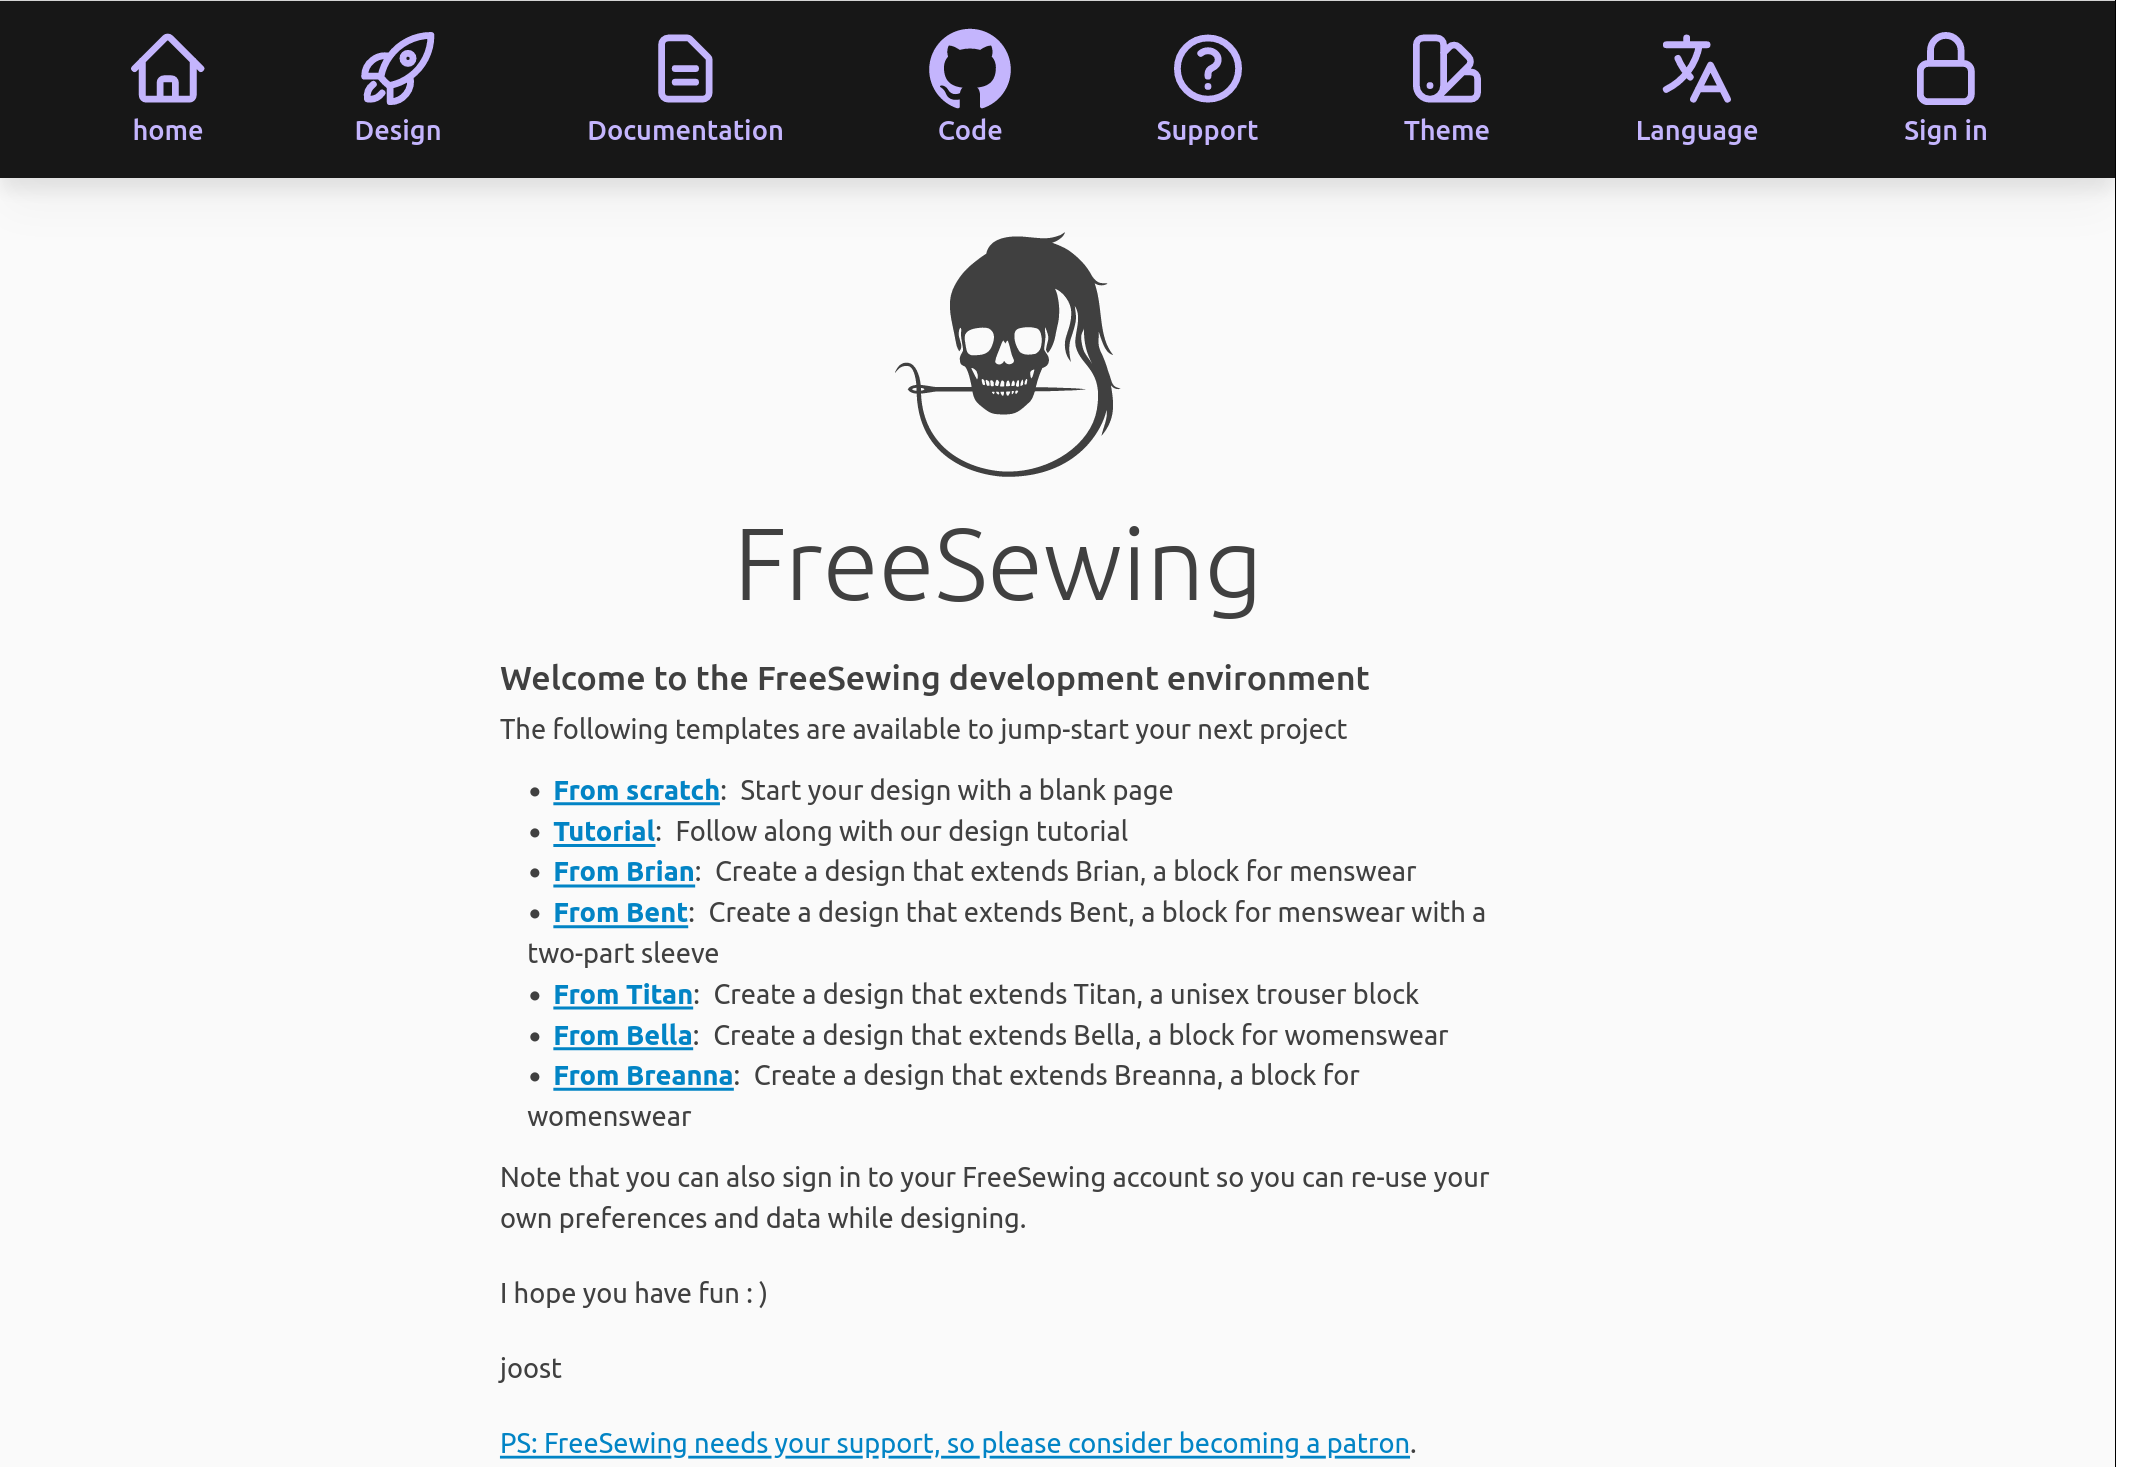
Now open a browser and go to http://localhost:8000
If all goes well, we’ll should see this landing page:

More detailed setup tutorials are available
This pattern design tutorial contains only an abbreviated overview of the setup process. For more detailed instructions, please refer to one of our setup tutorials:
Need help?
If you run into any issues, head over to FreeSewing.org/support which lists the various ways in which you can get help.